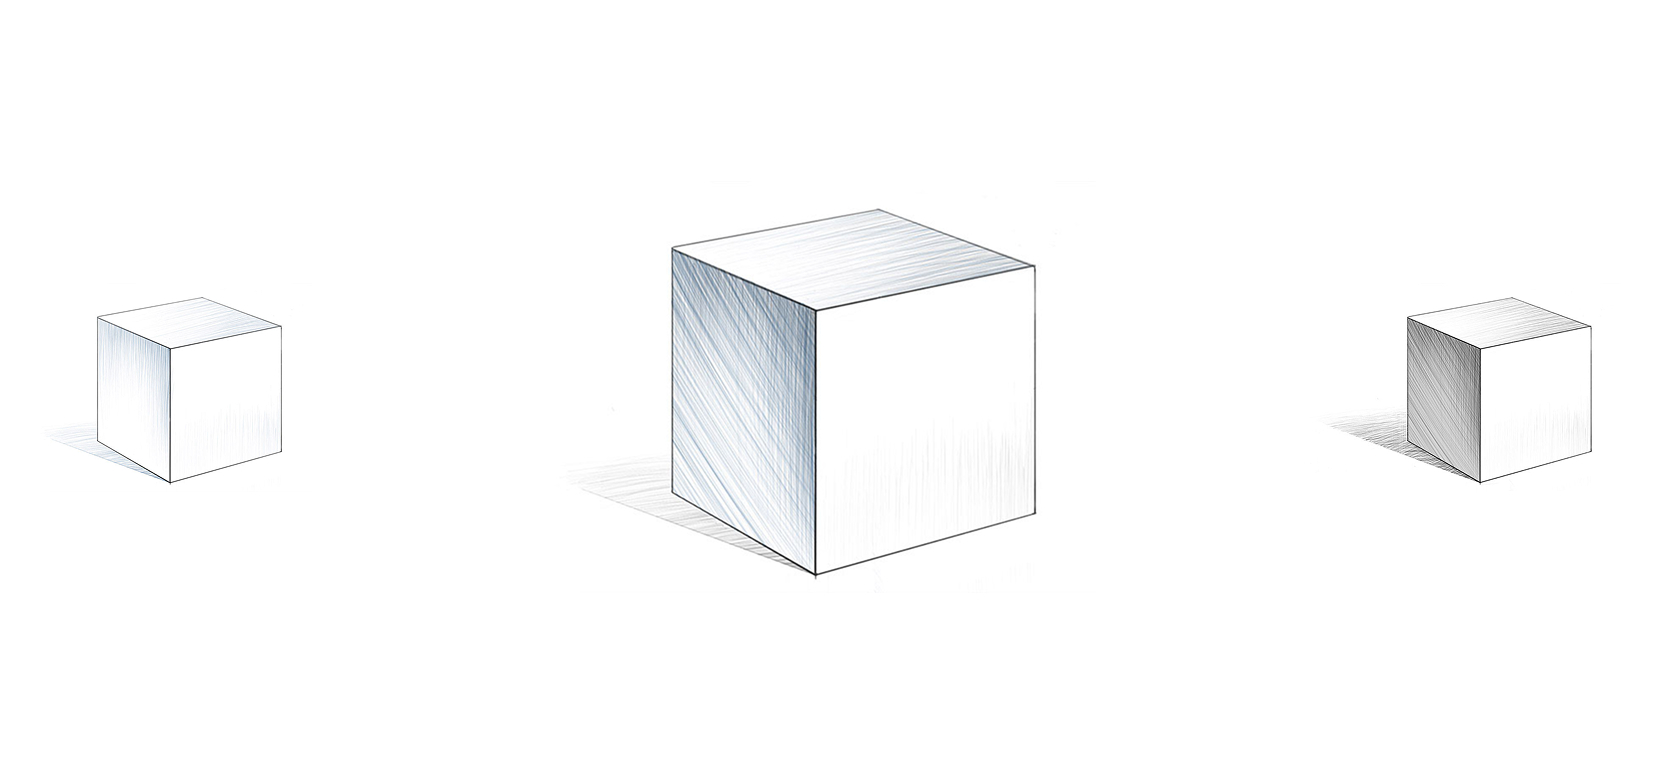
How to draw a cube step by step
.webp)
With this tutorial, you can also learn how to draw perspective and straight lines. To draw a cube correctly and accurately, you need to understand and imagine its volume. That is, when creating this geometric shape, you need to clearly understand where and at what angle its sides are located and how they decrease in perspective.
Step 1

So, first draw the bottom edges of the cube. Try to use very light lines and do not use a ruler.
.
.
Step 2
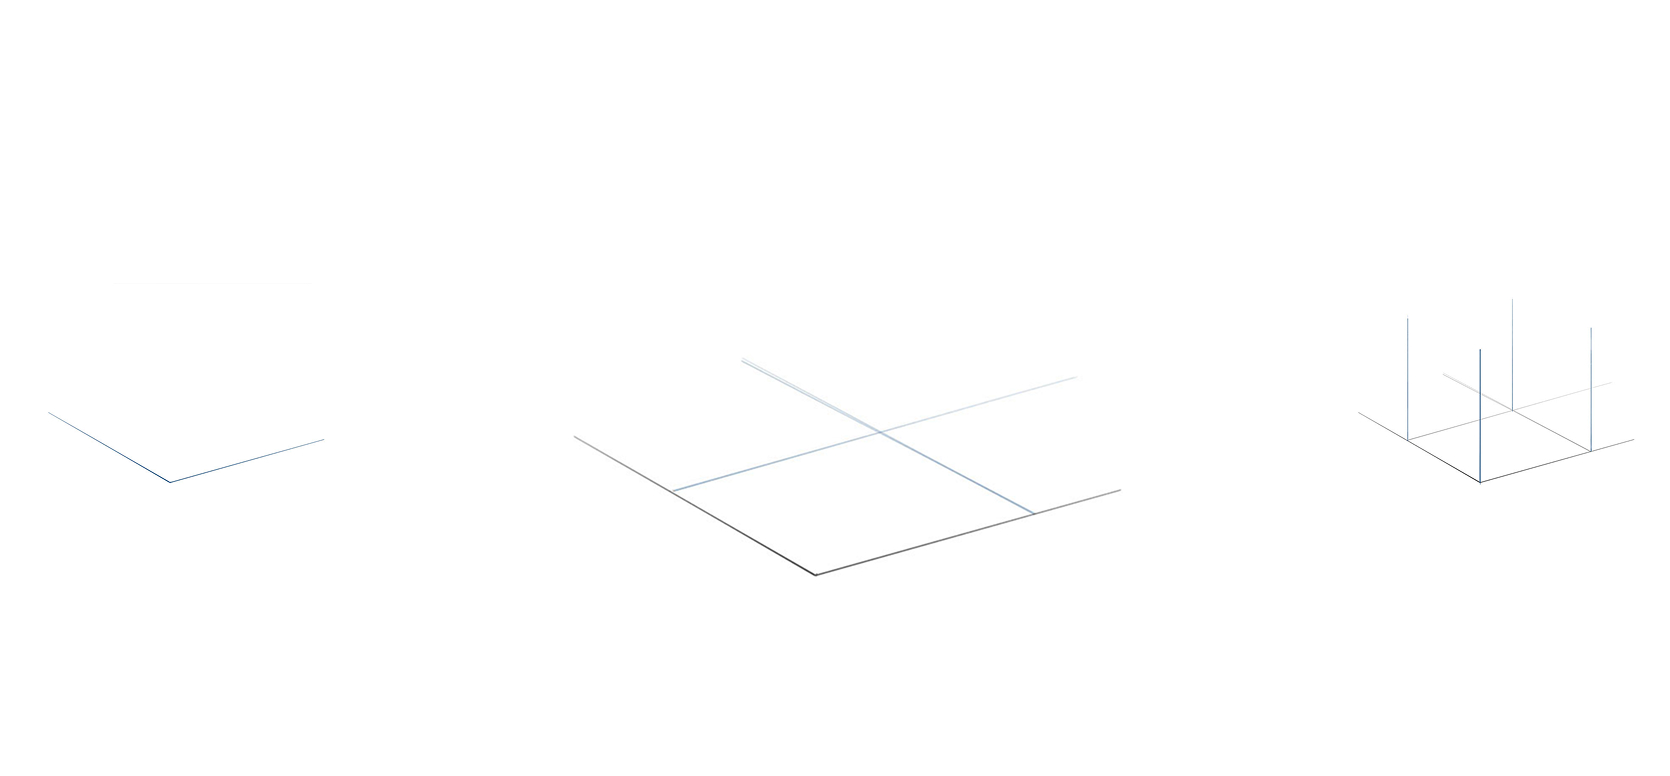
Now use very light lines to draw two more edges of the cube that are not visible to us. We draw these lines so as not to make a mistake in the proportions and the correctness of the angles in the drawing. According to the rules of linear perspective, the receding lines should be slightly closer to each other.
.
.
Step 3
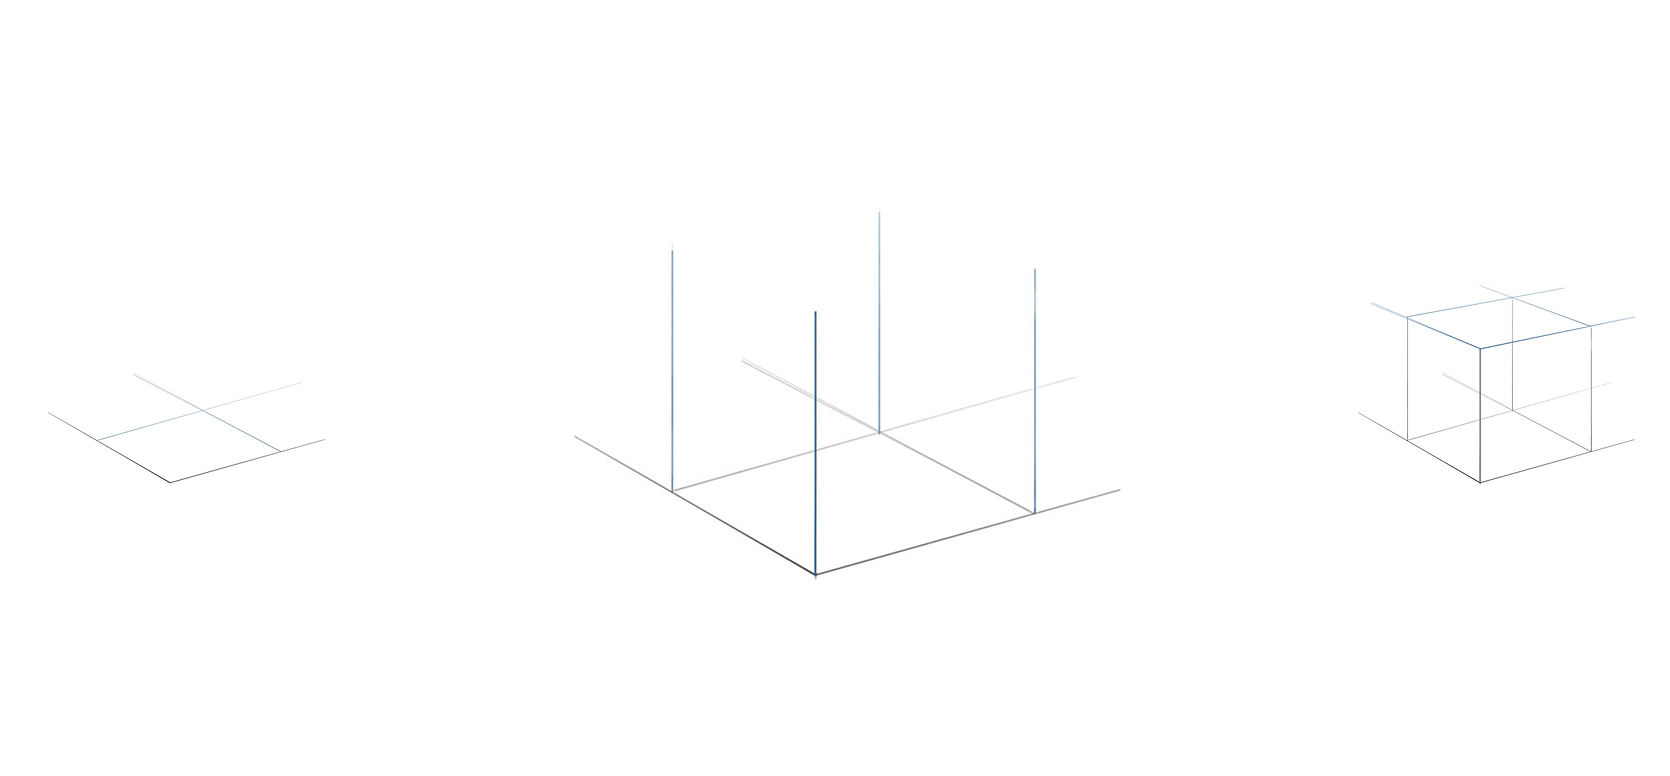
Now, using four straight vertical lines, draw the vertical edges of the cube. According to the rules of aerial perspective, lines located closer to us should be darker and more contrasting than lines located further away from us.
.
.
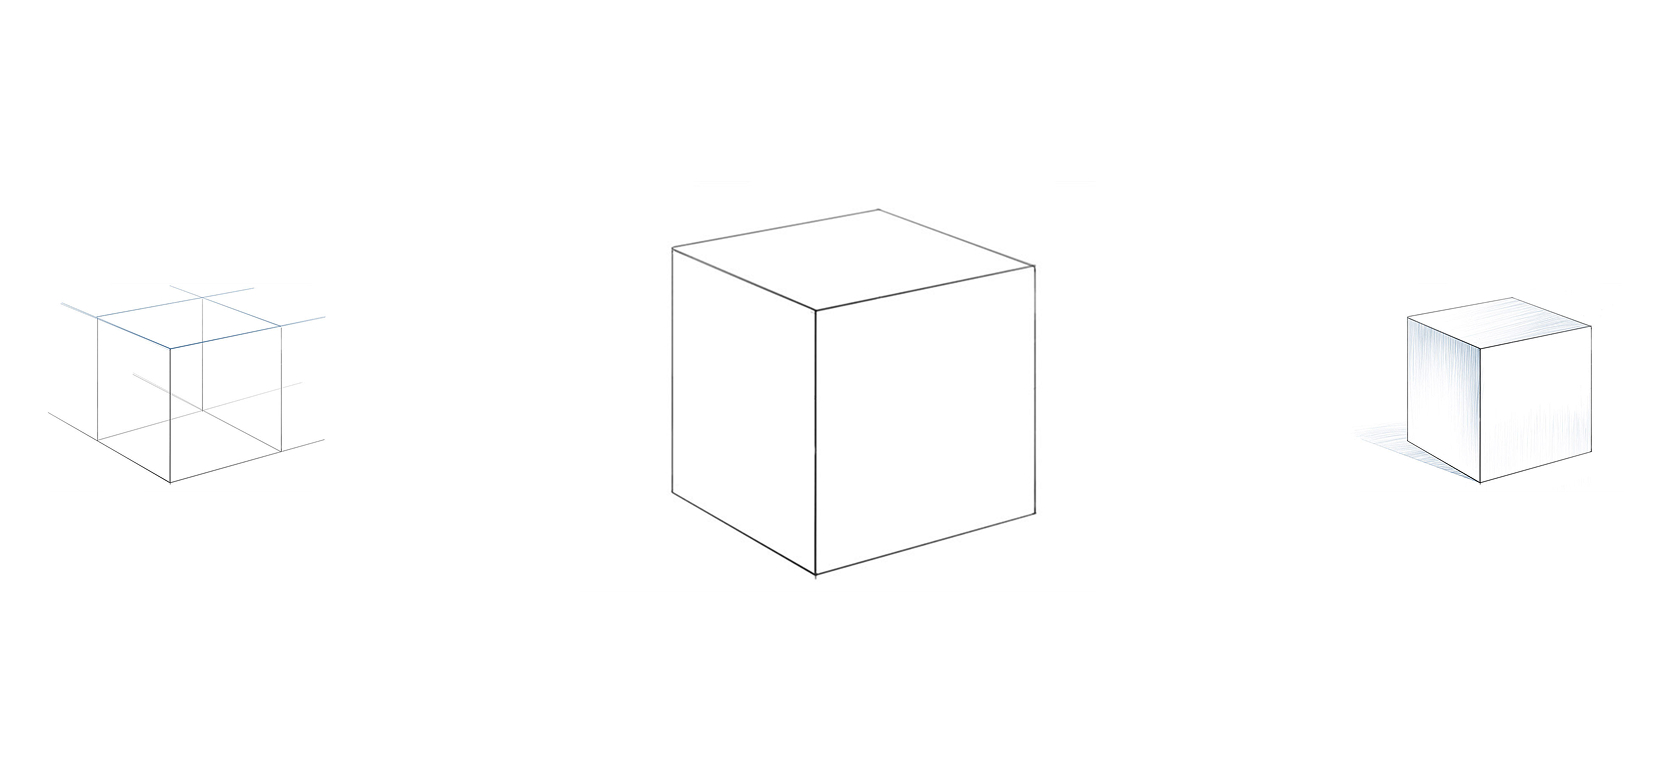
Step 4

Now draw the upper edges of the cube with four straight lines. Note that the upper edge should be flatter than the lower one.
.
.
Step 5
So, first draw the bottom edges of the cube. Try to use very light lines and do not use a ruler.
.
.
Step 6
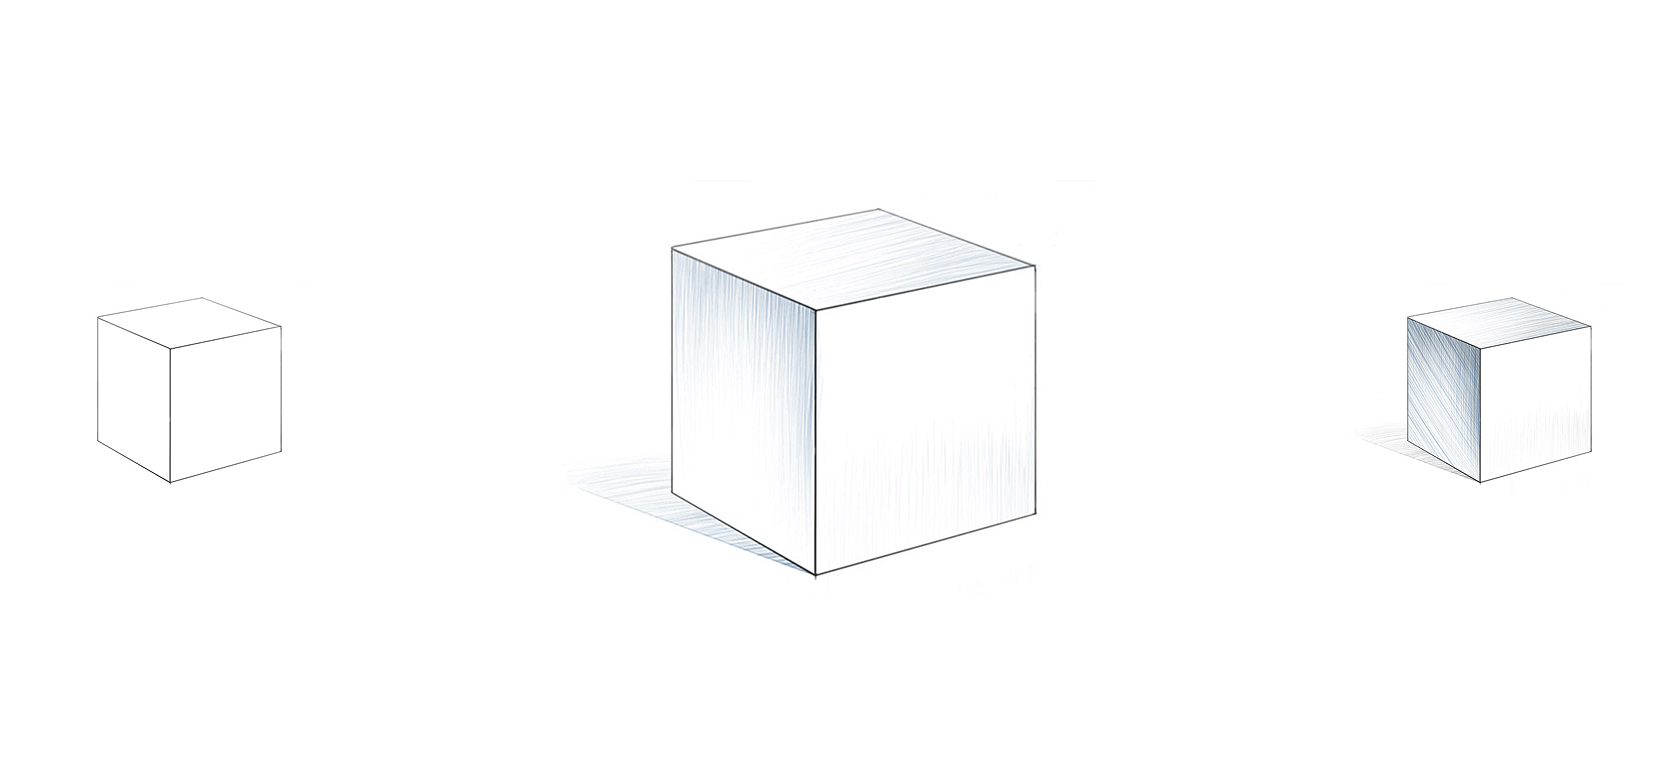
It's time to give the cube drawing a more finished look. Erase the auxiliary lines and make the main lines clear and realistic.
.
.
Step 7
Keep adding layers of shading, darkening them where necessary. We increase the contrast at the junction of light and shadow and in the places closest to us.
.
.
Congratulations!
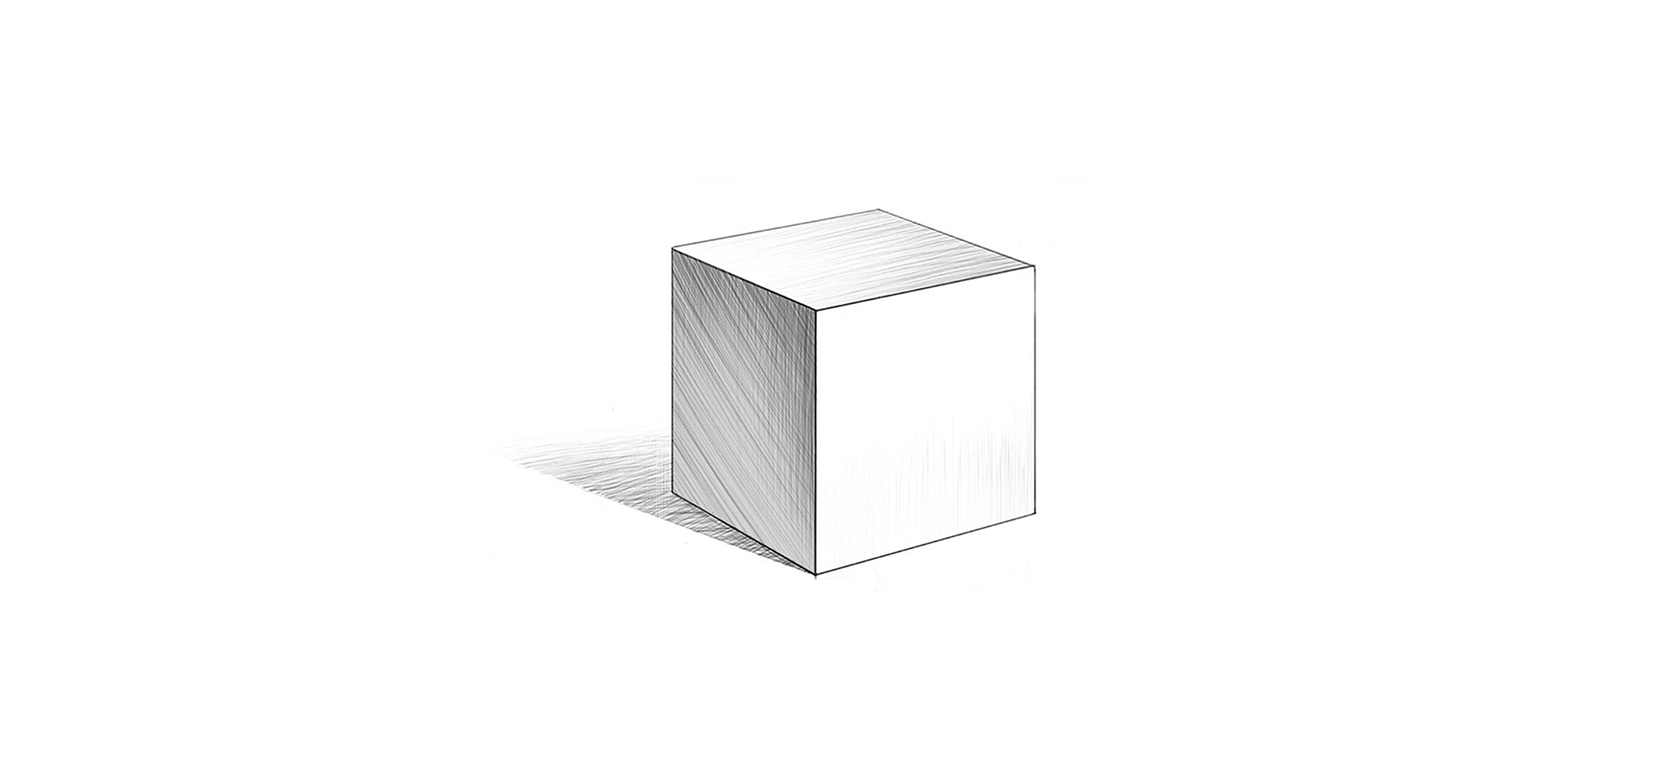
Here you should look at your work, find all the errors and, if possible, correct them.Make all the necessary strokes and the cube drawing is ready!


_1_1_1_1_1_1.webp)